
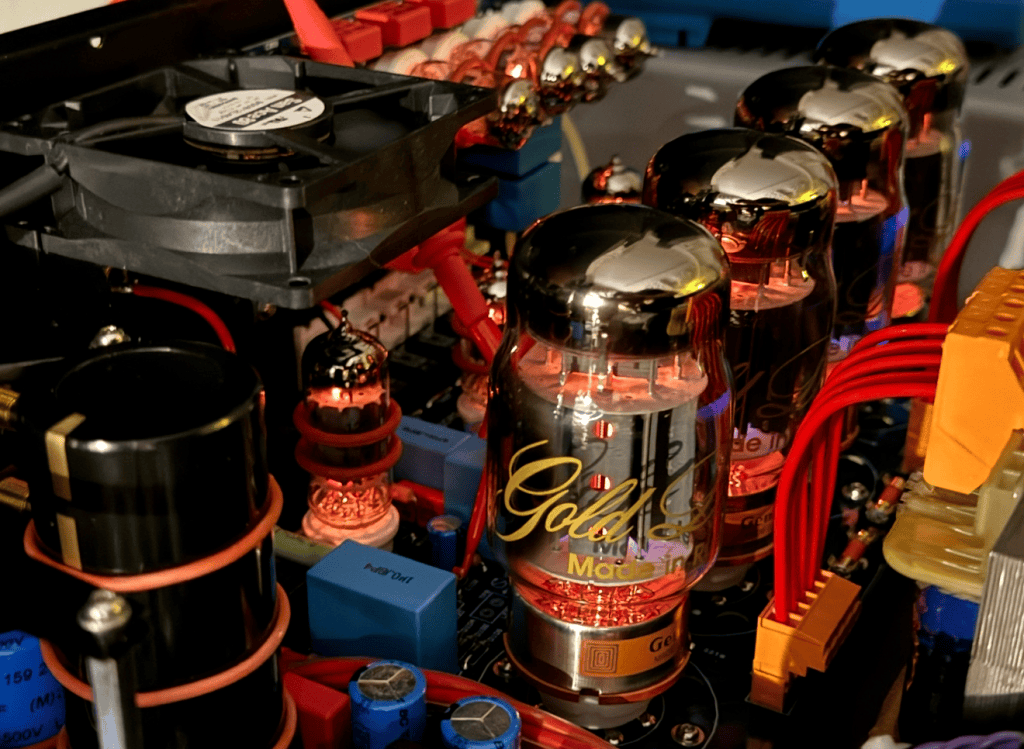
Tällä kertaa Diabolus in Hifi julkaisee jotain erittäin arvokasta sekä harvinaista; vuosikymmenten kokemuksen audiolaitteiden korjauksesta, modifioinnista sekä suunnittelusta hankkineen Johan Riikosen artikkelin hifilaitteiden kondensaattoreiden korvauksesta sekä korjauksesta – mitä tällä voidaan saada aikaan, ja mitä pitää varoa. Juttu sisältää muutakin arvokasta tietoa audiolaitteiden maailmasta.
Artikkeli julkaistaan poikkeuksellisesti englanniksi. Johanin yritys Radikal Akustik Design toimii Vantaalla.
Caps, Capacitors, and the Art of the Recap
Why throwing expensive parts at mediocre gear won’t save your sound—and what it actually takes to restore an amplifier to its true potential.
Johan Riikonen / Radikal Akustik Design
It hits me regularly just how many misconceptions exist in the audiophile world regarding capacitors (”caps”) and their actual function in high-end audio circuits.
There is a common, simplistic belief that as long as a replacement capacitor matches the original microfarad ($\mu\text{F}$) value and has low Equivalent Series Resistance (ESR), it will perform properly. Worse still is the tendency for enthusiasts to prejudge what is ”best,” turning up with exotic, hyper-expensive capacitors—like NOS Black Gates—bought from boutique online sellers. They expect these parts to magically elevate mediocre equipment.
The reality? Dropping ultra-boutique caps into a circuit without understanding the underlying topology will certainly make the gear sound different, but rarely better.
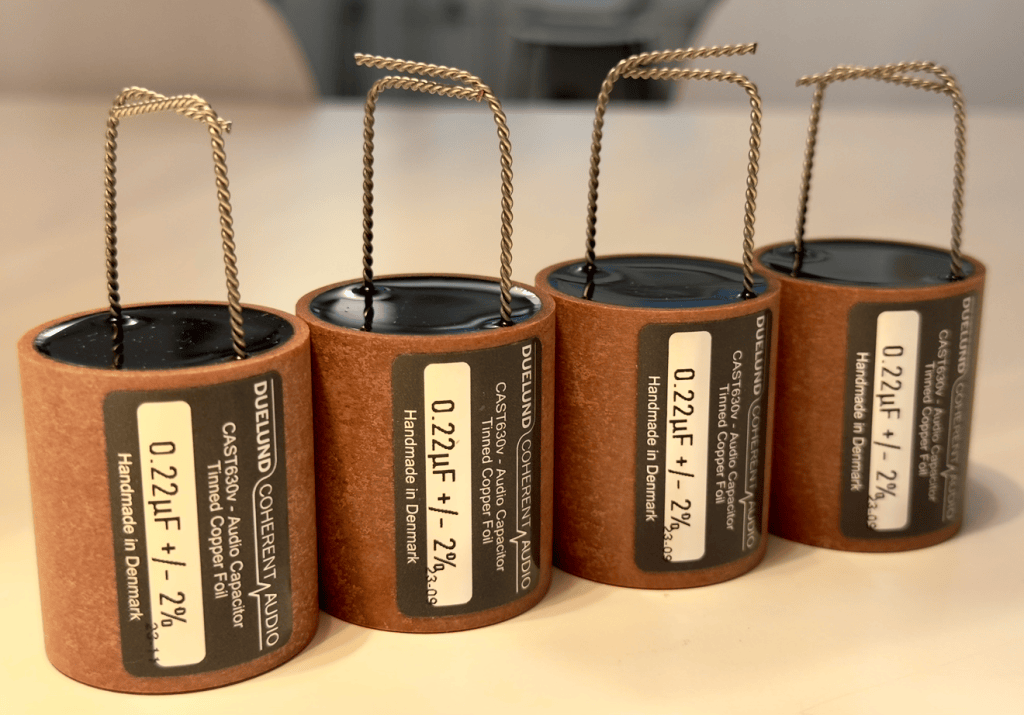
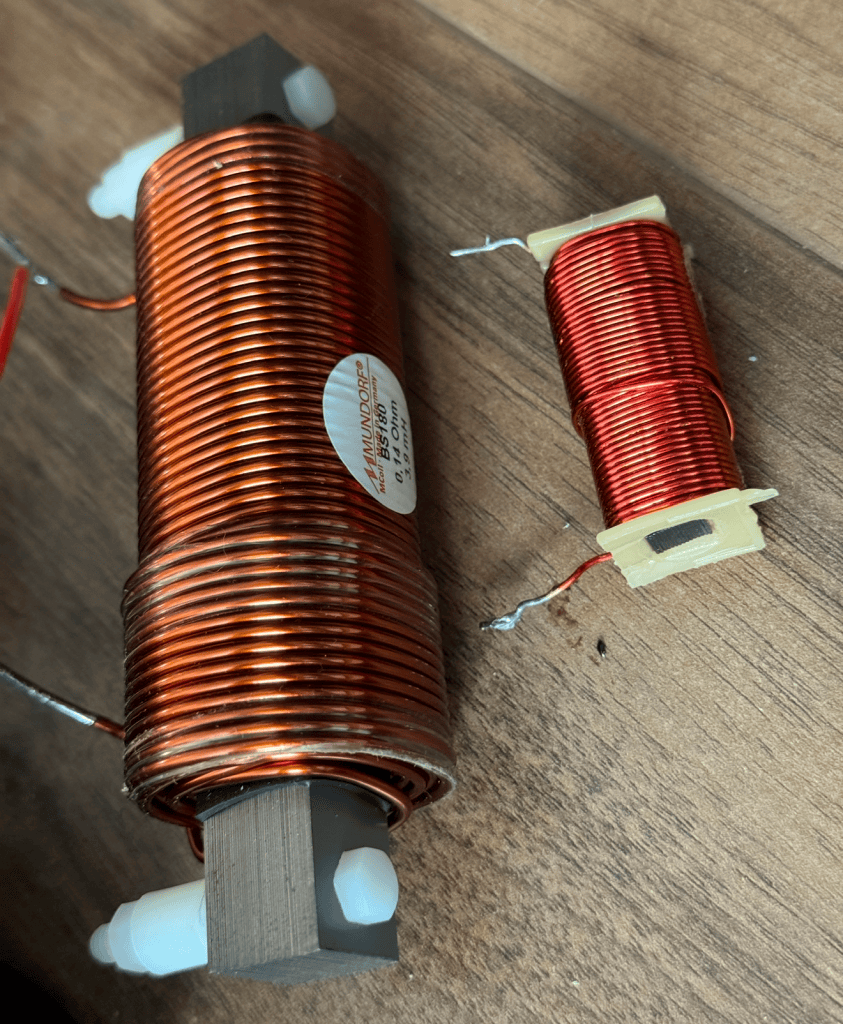
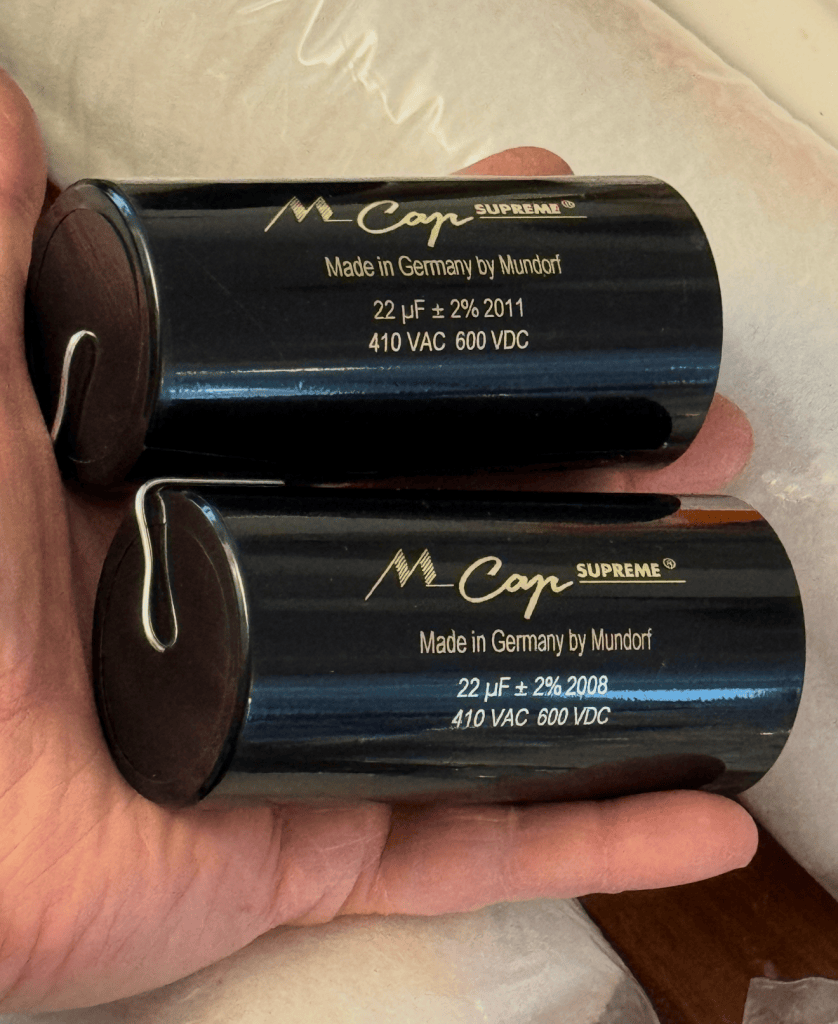
1. The ”All-One-Brand” Pitfall & Listening Fatigue
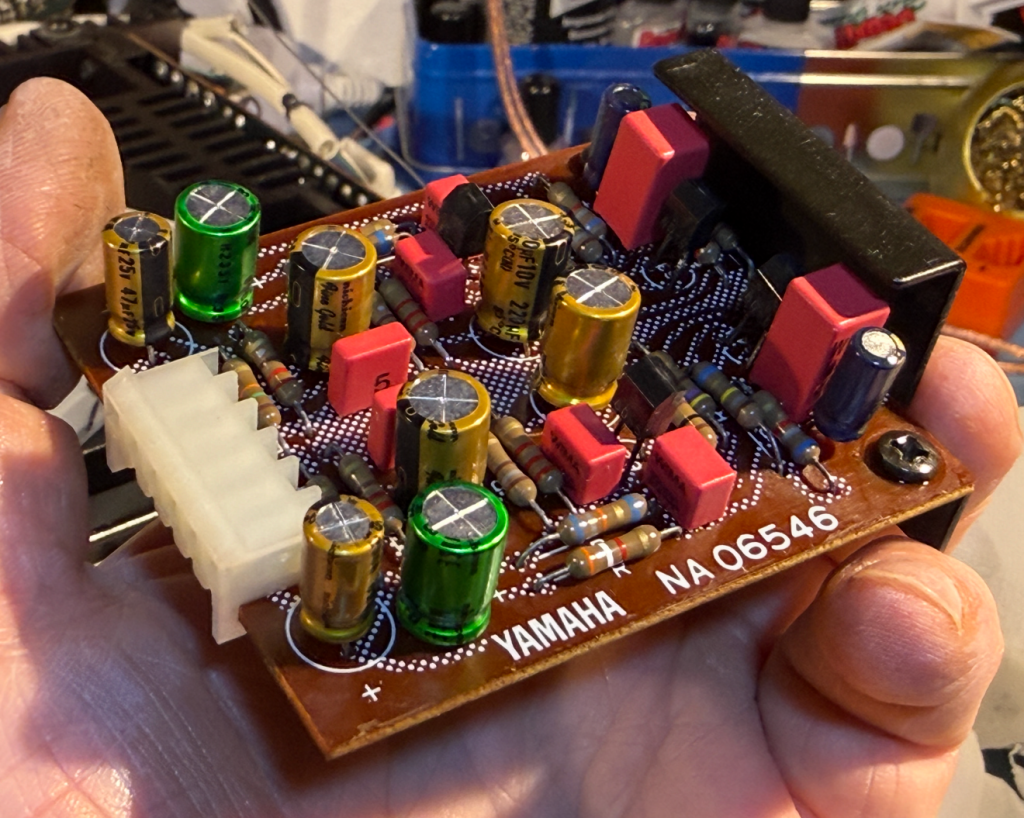
One of the most frequent mistakes I see in DIY recaps and amateur repairs is the blanket application of a single capacitor series throughout an entire amplifier.
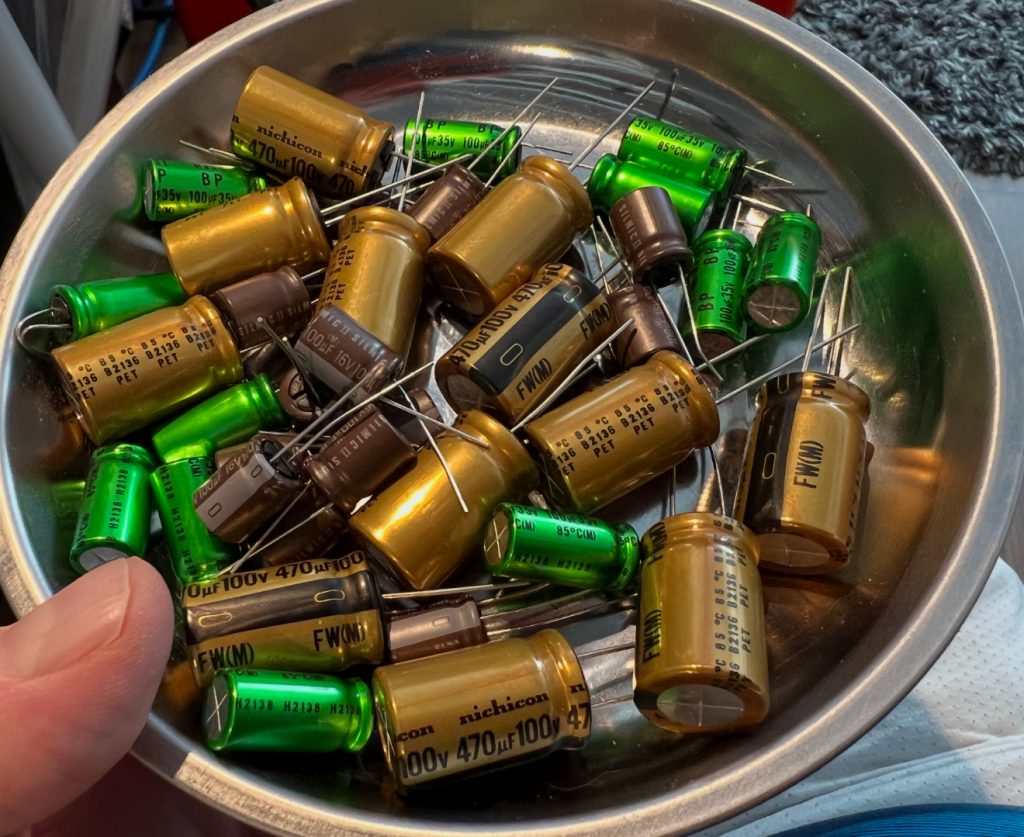
How often do you see an amp stuffed with Nichicon PW or Panasonic FC series across every single board—including small-value positions in the crucial signal path? The result is almost always the same: an aggressive, sterile, and ultimately boring sound presentation.
I spent nearly three isolated years bench-testing almost every audio and industrial capacitor series on the market, followed by extensive listening sessions with newer low-impedance and boutique designs. Customers often ask me: “Why did you choose series X from this brand instead of their top-tier ‘Ultimate’ series?”
My answer comes down to a single phrase: listener fatigue.
I have sat in front of countless multi-thousand-euro systems that were visually stunning and technically ”flawless”—treated rooms, flagship speakers, exotic cabling, and reference amplification. Yet, they sounded deeply analytical, cold, and heartless. The emotional connection to the music was completely drained. You weren’t listening to an artist perform; you were merely auditing a system.
The ”Upgrade Devil” and Balance
There is absolute truth to the idea of ”too much of a good thing.” Have you ever had a system that sounded wonderful, only for the ”upgrade bug” to bite? You swap out something minor—isolation feet, a power cord, or a couple of signal caps—and suddenly the system’s soul vanishes. You find yourself skipping tracks, turning down the volume, or doing something else entirely because the music no longer engages you. Before you know it, you’re swapping out speakers and amplifiers trying to chase that lost magic.
The finest audio systems I’ve ever heard didn’t rely on exotic trickery; they relied on tonal and electrical balance. Even if a system isn’t measure-perfect, a balanced design allows you to sit back, lose track of time, and genuinely enjoy 95% of your record collection.
When I repair, recap, or upgrade crossover networks and electronics, I always ask the client about the rest of their system. Understanding their listening habits and system synergy is vital. I don’t recommend component upgrades just to pad a bill with expensive parts—I trust what my ears and bench measurements tell me.
2. The State of Local Audio Repair: Fixing Symptoms vs. True Service
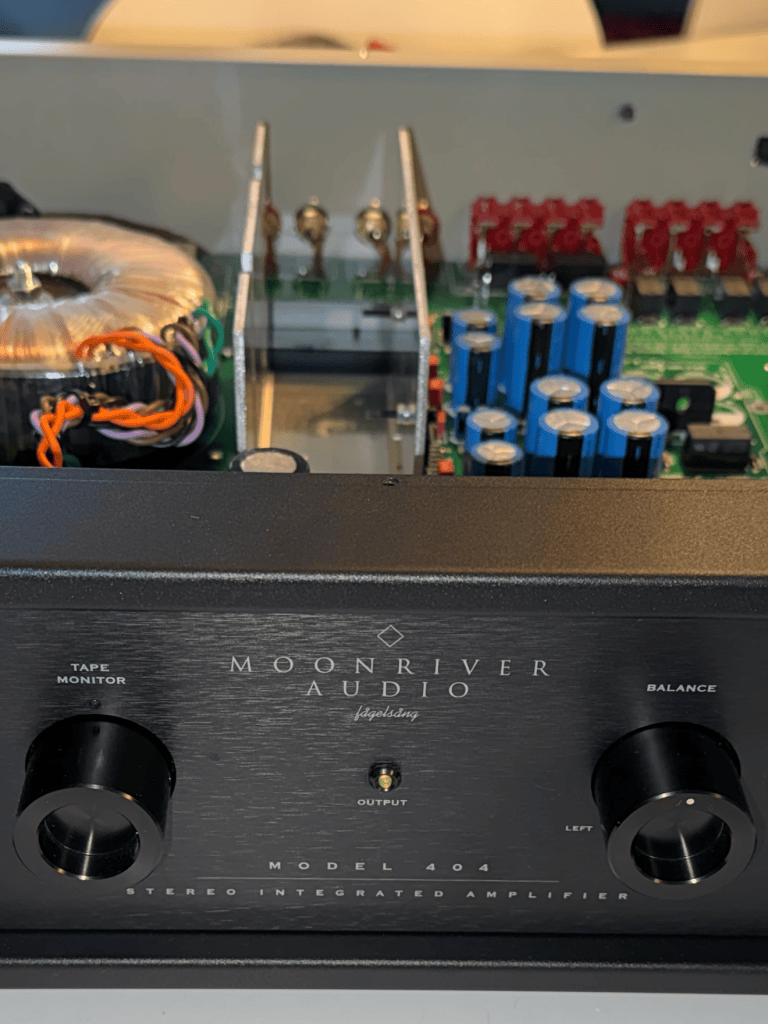
Without pointing fingers, it’s worth being honest about standard practices in the commercial repair industry. Most shops operate on a rapid-turnaround model: find the failed component, replace it, bill the customer, and get food on the table.
If a capacitor fails in the left channel of a high-end amplifier, standard repair shops will typically replace that single bad cap with a basic off-the-shelf part (like a generic Nichicon PW or VR)—or, sadly, whatever cheap no-name cap they have on hand. The right channel is left untouched unless the customer explicitly demands a full overhaul.
More importantly, the rest of the chassis is completely ignored. Four or five other stressed components ready to fail a week later are left unchecked.
Early in my career, I made a firm decision to operate differently:
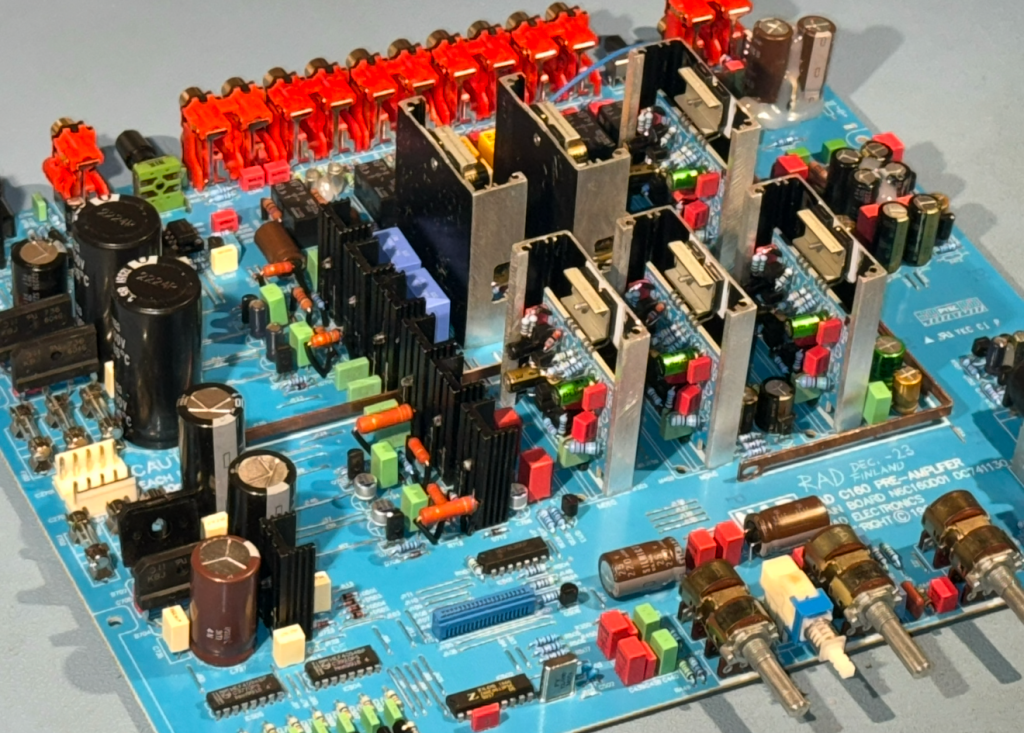
- Comprehensive Inspection: Every unit that comes onto my bench gets a full top-to-bottom inspection, from the power supply rails down to the output stage.
- Customer Communication: If I spot impending failures, I contact the client immediately with an honest assessment.
- Doing It Right the First Time: Even if a thorough approach takes more time, I despise seeing a unit return on a warranty claim. A happy customer who trusts his equipment will always return when he needs real work done down the road.
Modern Mains Voltages & Component Stress
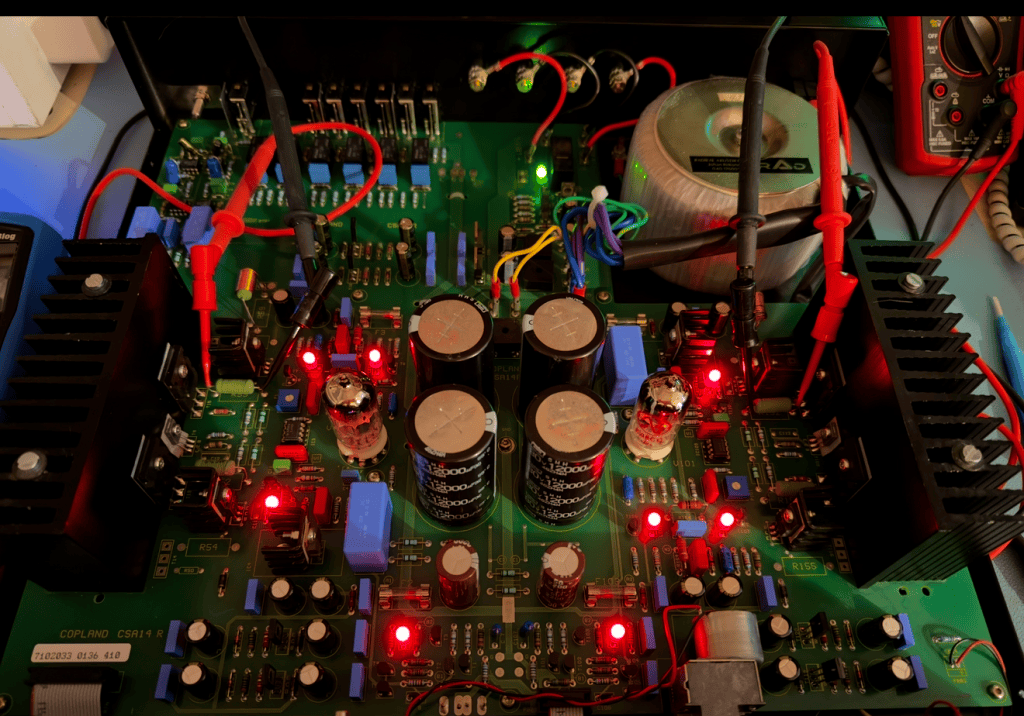
If you own vintage gear, keep this in mind: classic equipment was engineered around a 220V mains supply. Today’s grid routinely delivers 230V to 240V.
This voltage bump steps up the secondary rail voltages coming off your transformer, placing additional thermal and electrical stress on the power supply. Back in the day, manufacturers saved money by specifying capacitors with tight voltage tolerances—such as using a 16V-rated cap on a 15V supply line.
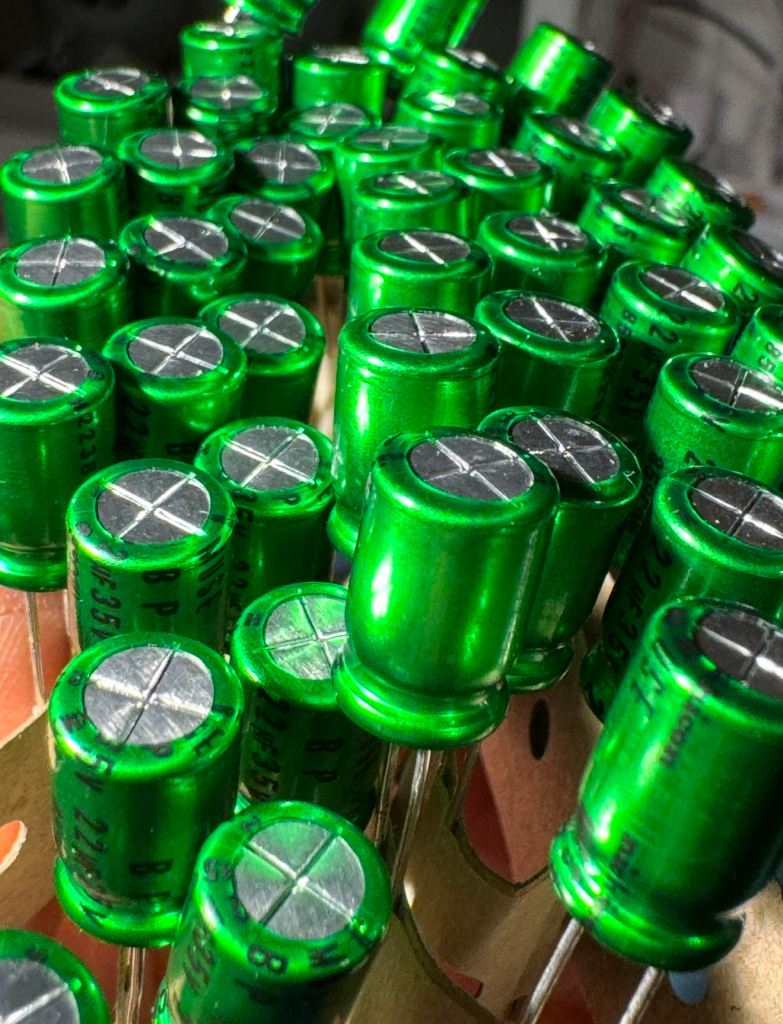
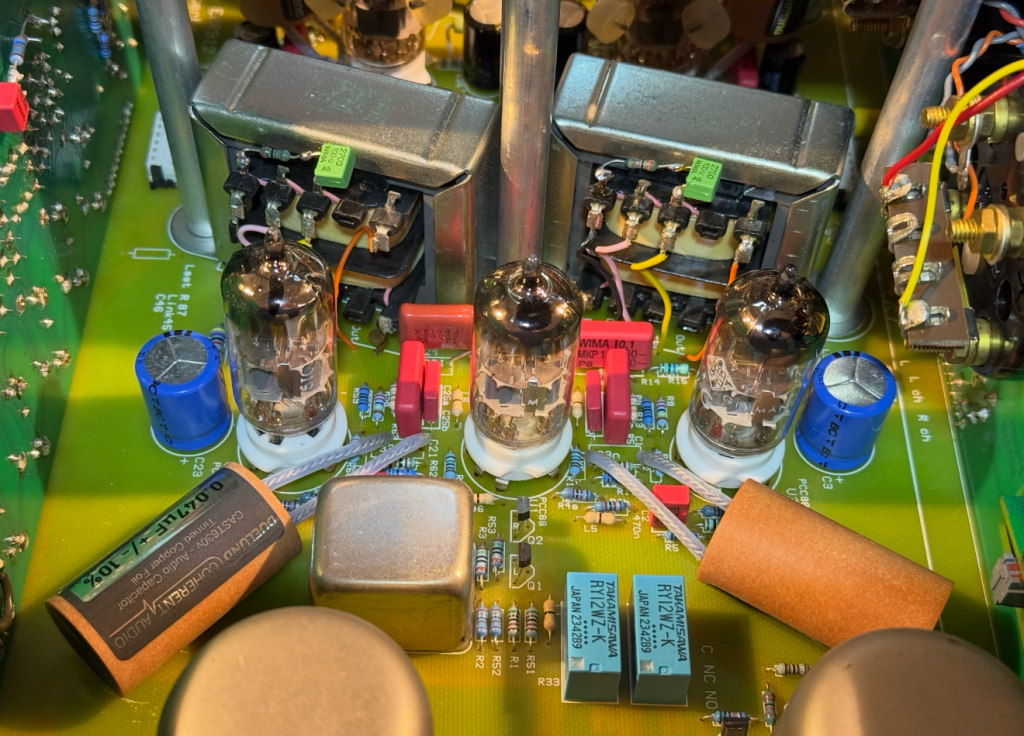
When recapping vintage gear, I systematically bump those voltage ratings up to 25V or 35V to ensure headroom and longevity. Transistors, power resistors, and aged solder joints must also be audited; heat-stressed resistors and cracked solder joints will take down a fresh recap in a heartbeat.
3. Bench Discipline: Soldering, Metallurgy, and Flux Cleanliness
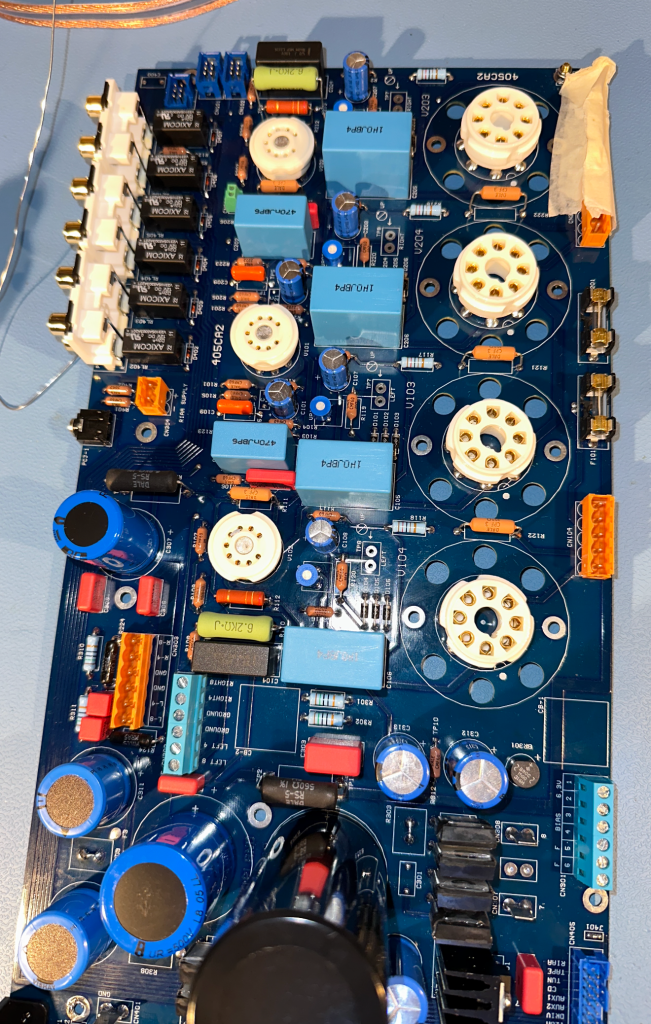
You can buy the best capacitors in the world, but poor soldering technique will ruin the restoration.
The Trimming Trap
A widespread mistake among DIYers and even professional technicians is soldering a component lead first and trimming it afterward. Snipping a lead after the solder joint has cooled imparts mechanical shock directly into the joint, risking micro-fractures. Worse, it exposes the raw steel or copper core at the cut edge to atmospheric oxygen and moisture.
(Note: Most modern component leads are copper-clad steel rather than pure copper).
Over time, corrosion creeps upward under the solder interface, creating a high-resistance junction.
Mechanical Connections & Silver Solder
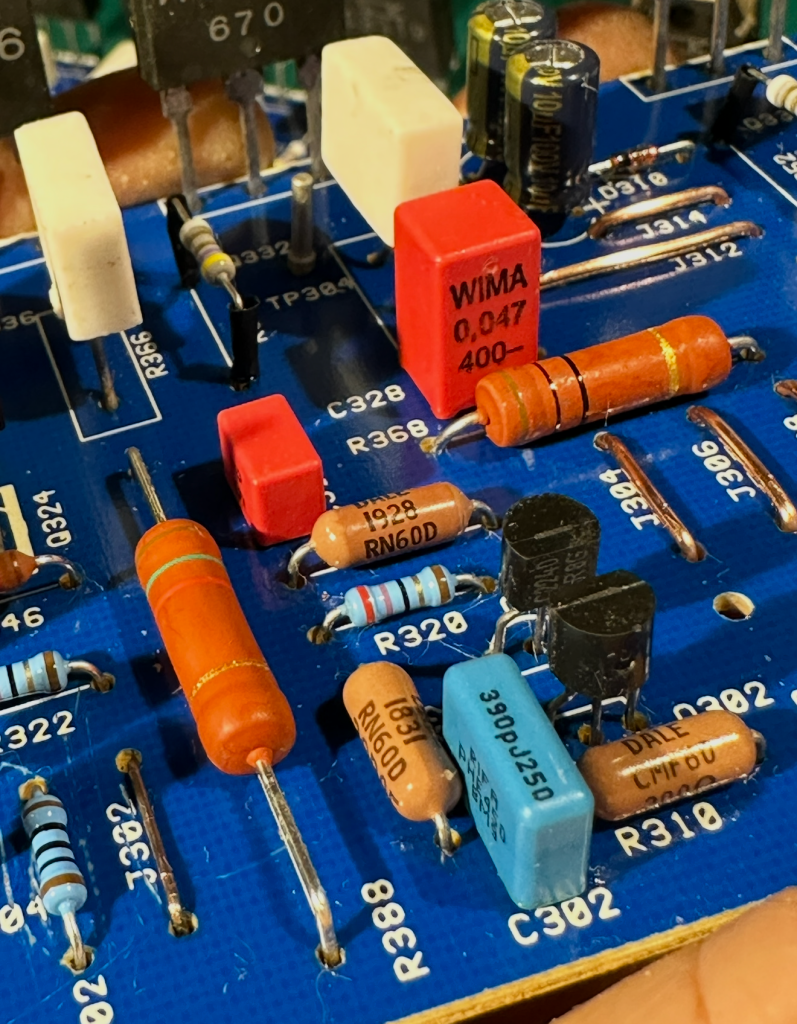
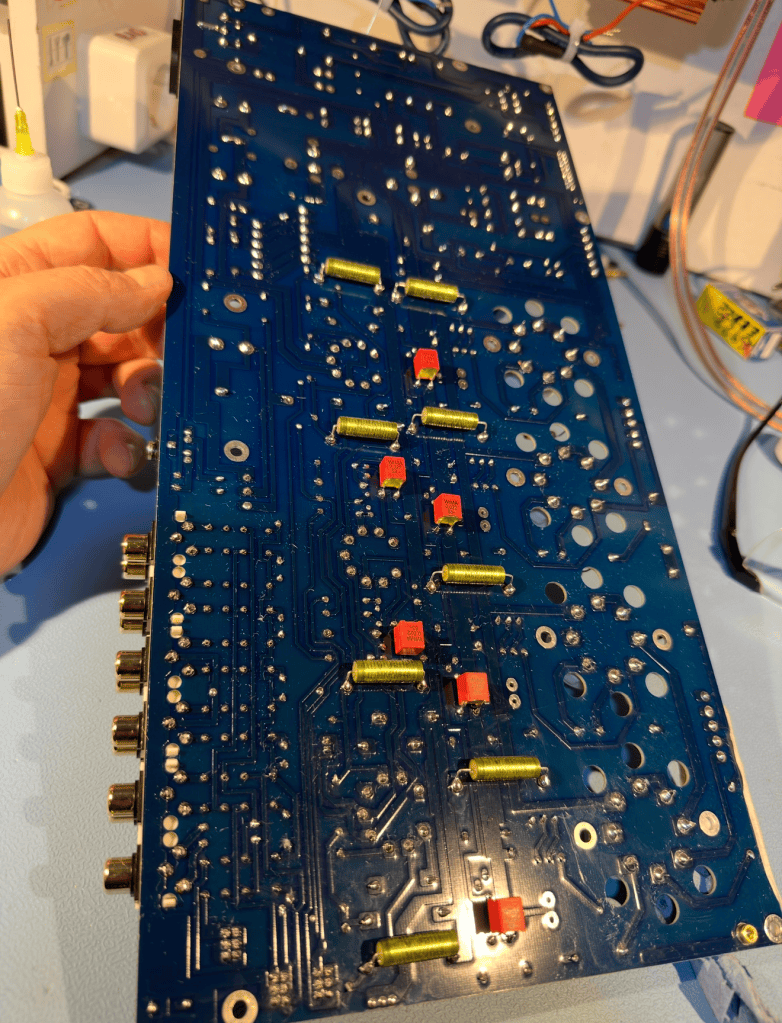
- Lead Bending: Component leads should be cleanly bent to make physical contact with the PCB copper trace before soldering. Relying strictly on a pool of solder for mechanical and electrical connection increases trace resistance.
- Solder Choice: Standard eutectic tin/lead solder is actually a relatively poor electrical conductor (roughly 10–12% the conductivity of pure copper). I exclusively use high-grade solder containing 2% to 4% pure silver to maximize conductivity—a crucial factor when an amplifier circuit contains over 500 individual solder points in the signal and ground paths.
Board Washing
Something almost universally neglected in basic repair shops is post-solder flux removal. Residue left behind by rosin or synthetic fluxes becomes hygroscopic and mildly corrosive over time. Near high-temperature zones—such as around power dropping resistors—residual flux softens under heat and degrades the mechanical integrity of the joint. Cleaning the PCB thoroughly isn’t just about making the board look beautiful; it’s essential for long-term stability.
4. Is Vintage Always King?
I specialize in classic 1970s and 80s electronics from brands like Pioneer, Sansui, Luxman, and Marantz. While these units are built like tanks and often still produce sound out of the box, 50-year-old electrolytic capacitors are simply end-of-life, regardless of what forum threads claim.
TYPICAL CAPACITOR AGING BEHAVIOR
Aged Electrolytic (Leaky / Degraded)
– High internal leakage current
– Slow charge/discharge rate- Inaccurate ”High” reading on basic meter
Modern High-Grade Replacement
– Ultra-low ESR & tight tolerance
– Fast transient response & delivery
– Stable under full operating voltage
The ”High Capacitance” Measurement Trap
If you put a vintage 220$\mu\text{F}$ / 25V capacitor on a basic handheld meter and it reads 270$\mu\text{F}$ or 330$\mu\text{F}$, do not assume it is healthy.
When an electrolytic dielectric degrades, high DC leakage current and internal chemistry changes trick simple low-voltage test meters into displaying an artificially high capacitance value. Furthermore, standard hand-held meters test at 2V to 5V DC—which tells you nothing about how that capacitor behaves under 50V operating conditions in a live circuit.
The Sonic Result of a Proper Recap
Stock 1970s receivers are famous for a warm, plush, laid-back, and romantic sound. When clients get their restored amplifiers back, they are often shocked by the transformation: suddenly, there is lightning-fast dynamic speed, crisp resolution, and tight bass control.
They often ask: ”Is this really how it sounded from the factory?”
The answer is yes—and even a bit better. Modern capacitor manufacturing technology yields significantly faster charge/discharge rates (lower ESR and inductance) than anything available in 1975. Replacing degraded power supply caps gives the output transistors the fast current delivery they need to handle dynamic musical transients effort-free.
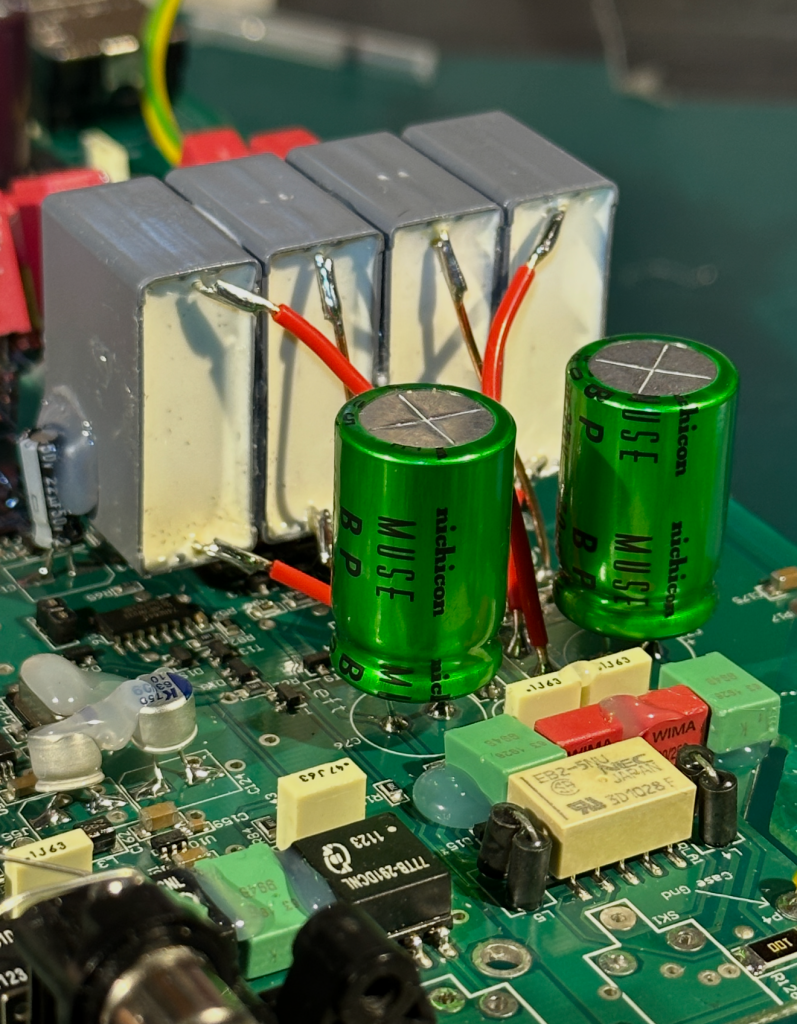
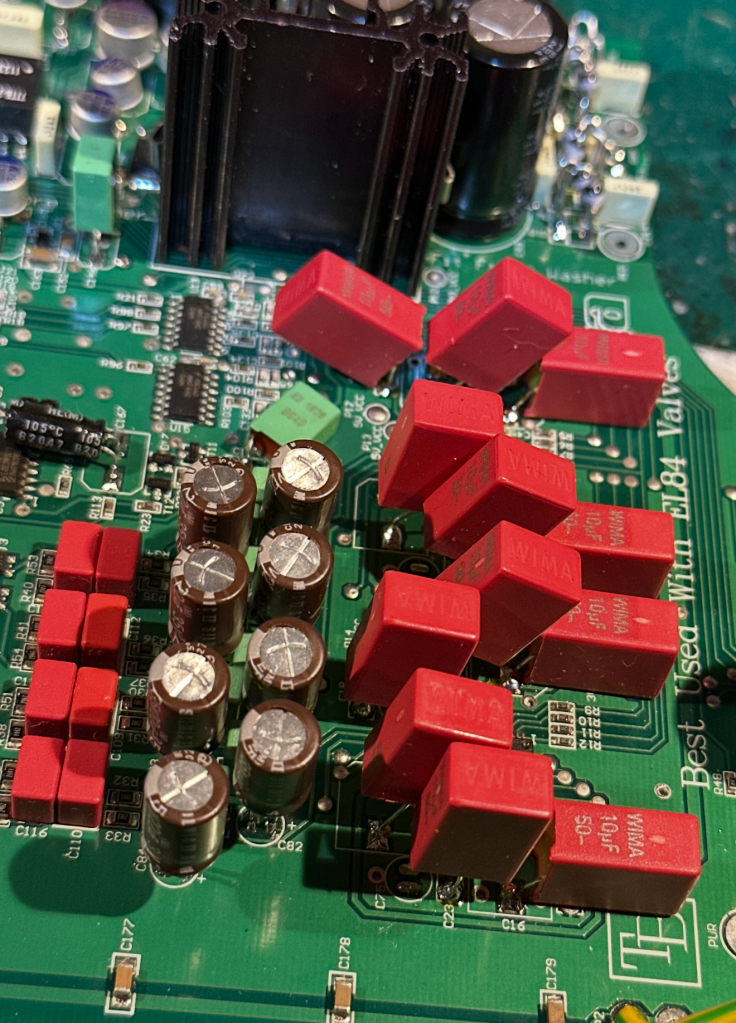
Furthermore, vintage designs frequently used small-value electrolytic capacitors in the signal path because quality film capacitors were too large and expensive at the time. Replacing those small electrolytics with modern film caps (such as polypropylene or stacked polyester) eliminates DC leakage forever, reduces harshness, and unveils a stunningly natural mid-range.
5. Circuit Secrets & Finding the Hidden Gems
A common fear among audiophiles is that recapping or updating an amp will destroy its original ”sonic DNA”—that an NAD will no longer sound like an NAD, or a Rega won’t sound like a Rega.
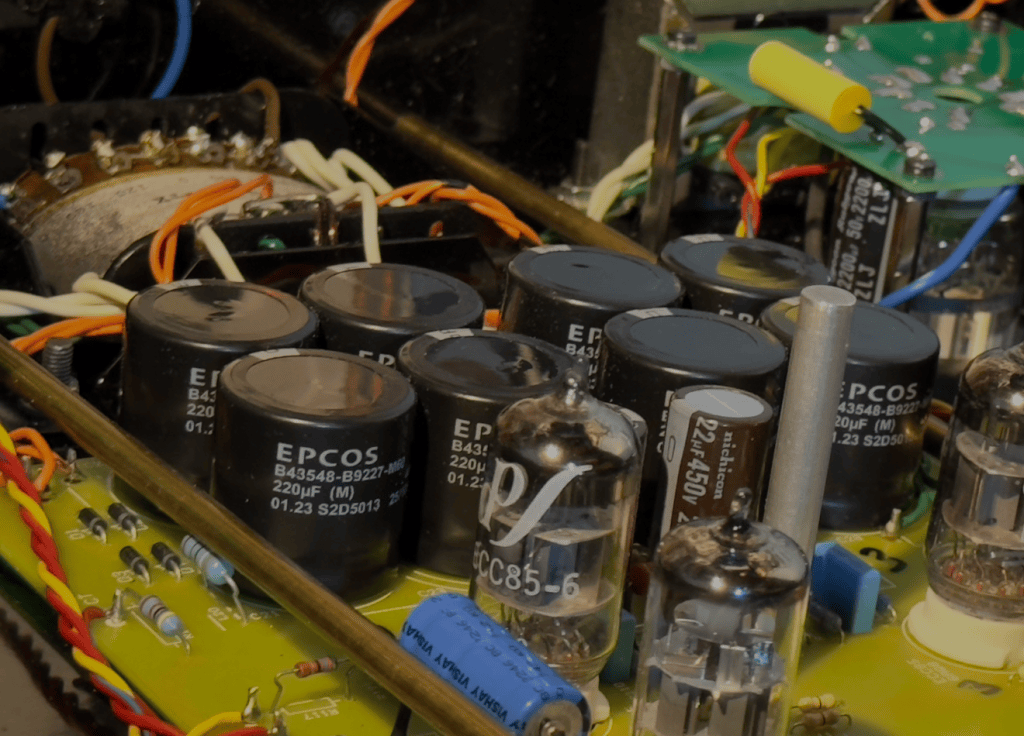
My goal is never to alter the core topology, but to rectify the compromises forced upon the original engineers by manufacturing budgets. Even legendary brands—from entry-level classics to high-end names like McIntosh or Mark Levinson—had production budget constraints. You will often find under-sized power supply traces, omitted bypass caps, or budget-tier electrolytics in critical locations.
(Accuphase remains a rare exception—their circuit engineering, layout discipline, and serviceability stand in a league of their own).
Editor’s Choice: The Value Sweet Spot
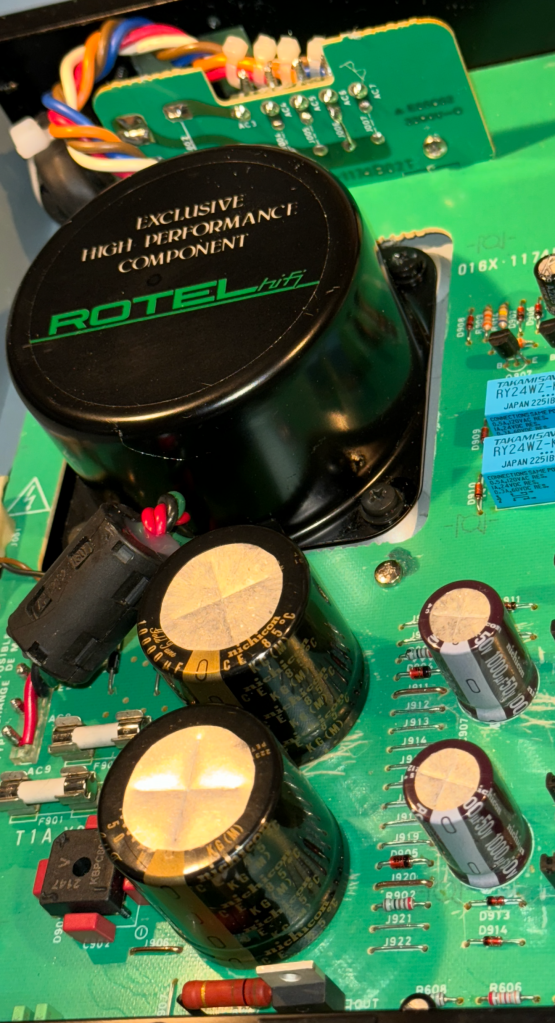
If you are building an exceptional system on a realistic budget, classic Rotel amplifiers are arguably the best bang-for-the-buck units on the secondary market.
Internally, many standard Rotel circuits are remarkably close to their flagship Michi series designs. The main difference lies in power supply capacity and the cost-cutting choice of standard-grade caps. Left stock, a vintage Rotel can sound slightly hard or aggressive in the upper frequencies; properly recapped and voiced with high-quality components, they will compete easily with modern integrated amps costing ten times as much.
The Bottom Line
Audio restoration is an intricate balance of measurement, mechanical craftsmanship, and critical listening. There are no magical ”silver bullet” components, and blind parts-swapping will only take you so far.
If you’re considering purchasing a vintage amplifier or want to know the true condition of your current piece, have a qualified technician inspect it on a test bench under actual operating conditions. Restoring classic gear properly takes time, but when done with care and the right parts, the music comes alive in ways that modern mass-market gear simply cannot touch.
If you are in need of advice, repair or modification, don’t hesitate to contact me.





Vastaa